How to Create a Promotion.
Step 1: Access the Partners Hub.
-
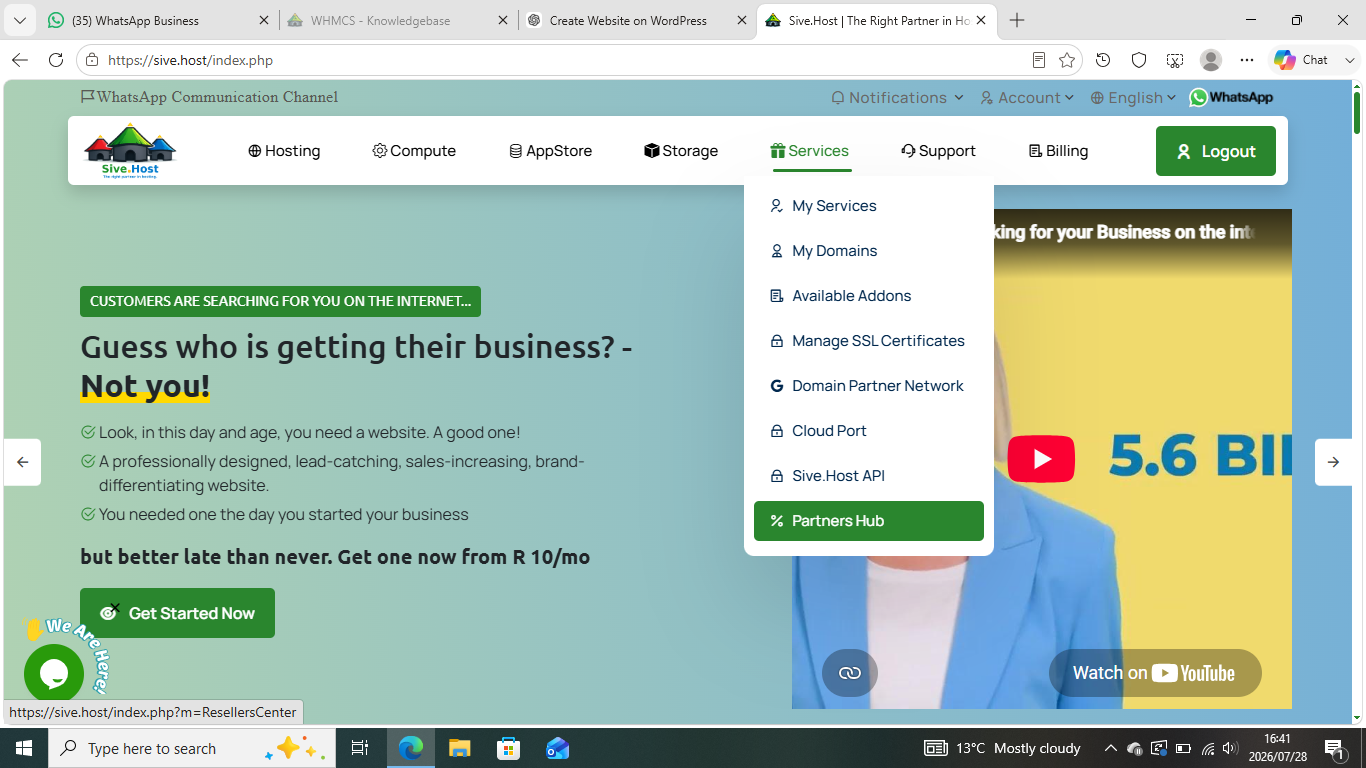
Log into your account at Sive.Host.
- Click on the Services tab in the main navigation bar then select Partners Hub from the drop-down menu.
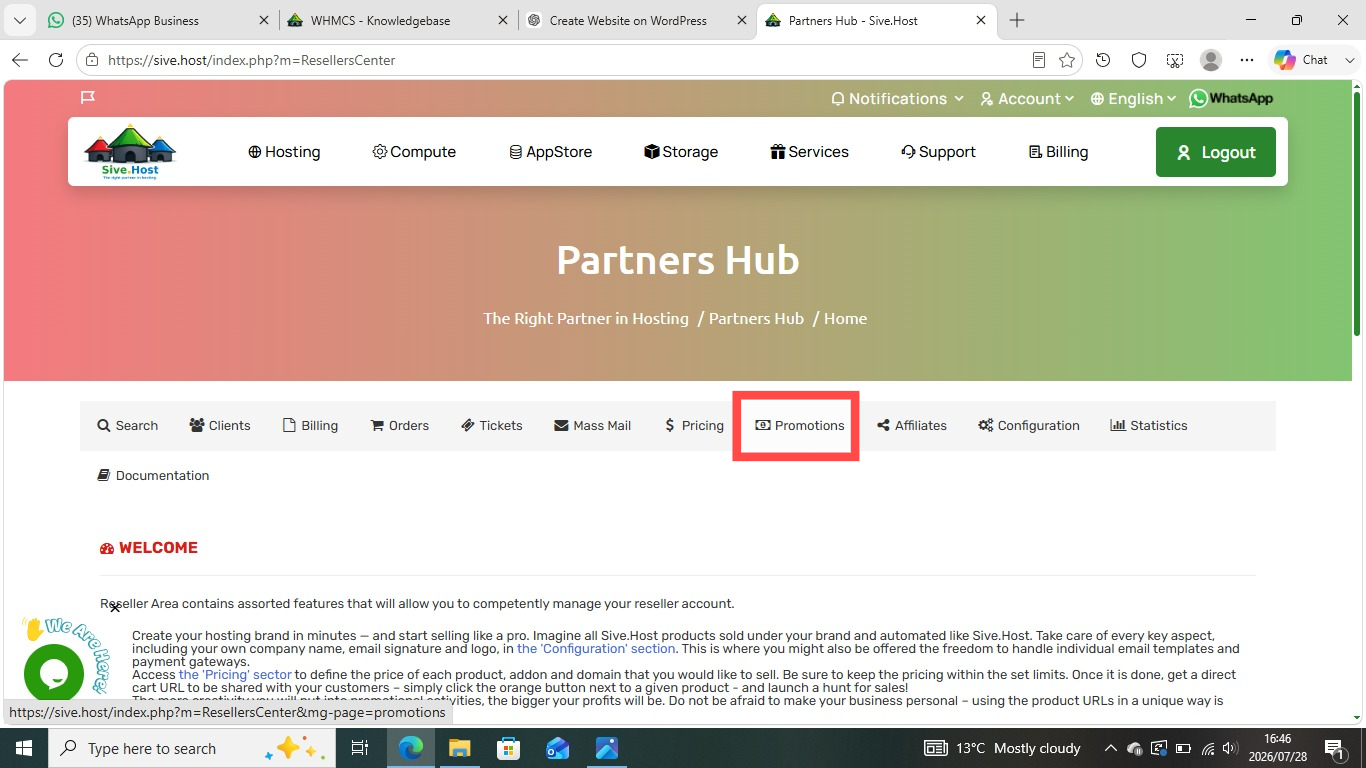
Step 2: Navigate to Promotions.
Once inside the Partners Hub dashboard, locate Promotion on the sub-menu options. Click on the Promotions tab to open the promotion configuration form.
Step 3: Define Discount Rules (Left Column).
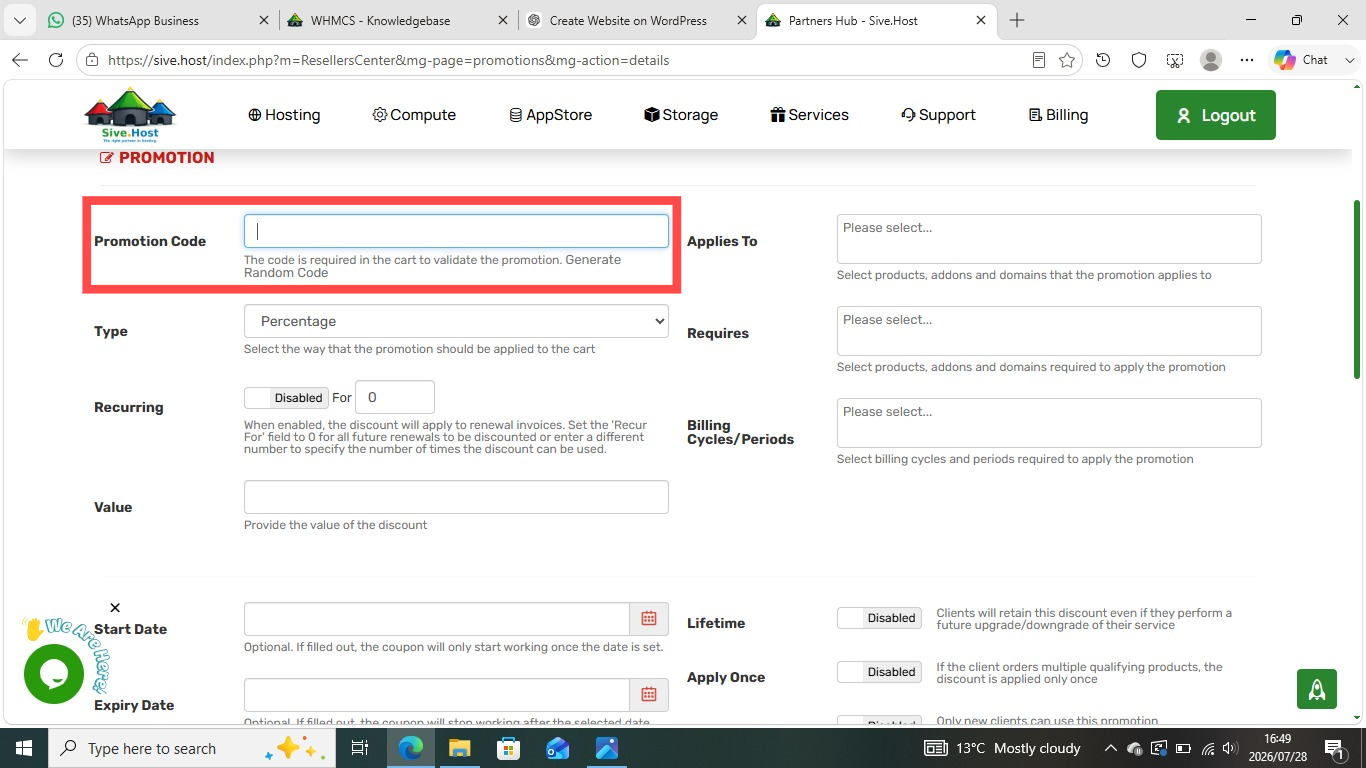
Promotion Code: Enter a unique code (e.g., SUMMER2026 or DISCOUNT10) that clients will enter in their cart to redeem the offer.
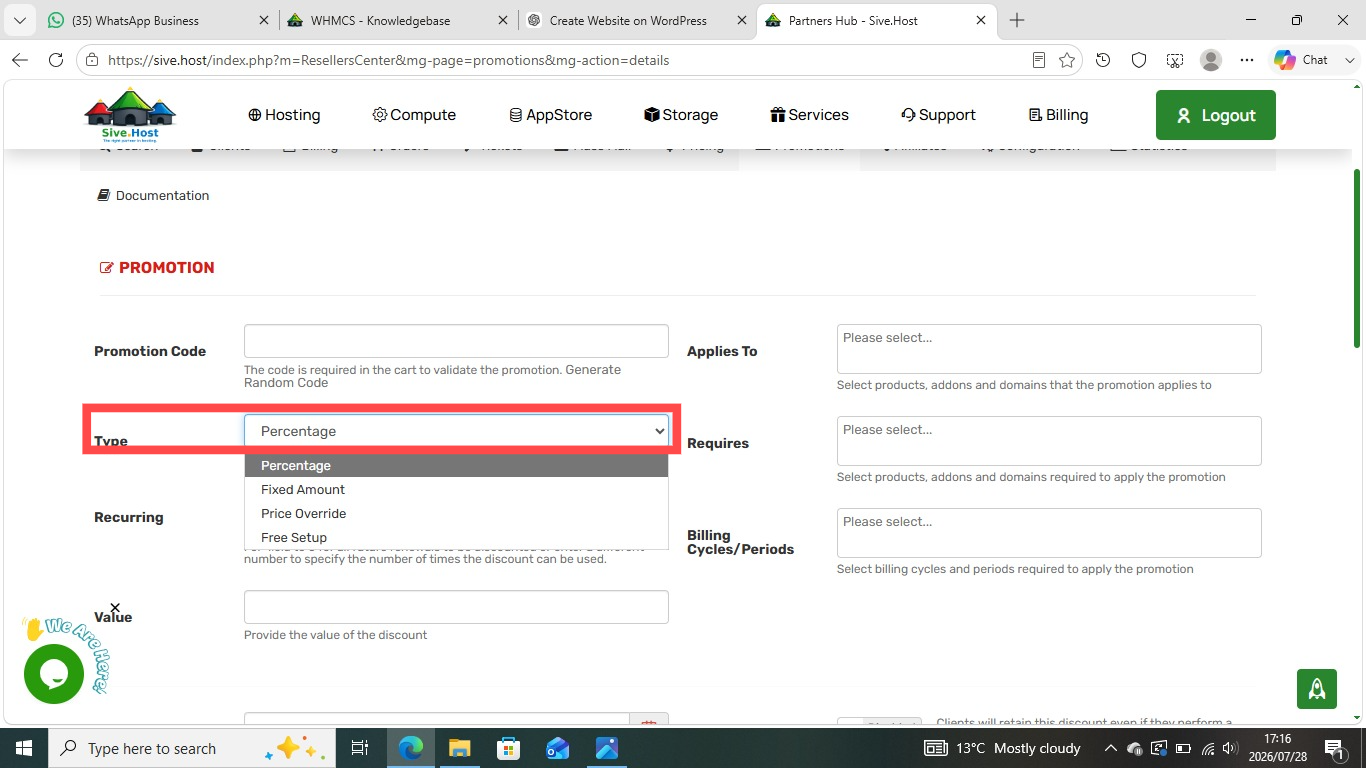
Type: Select the discount type from the drop-down list:
-
Percentage: Deducts a percentage off the price (e.g., 10% off).
-
Fixed Amount: Deducts a specific monetary value off the total.
-
Price Override: Sets a fixed custom price for the item.
-
Free Setup: Waives any setup fees associated with the product.
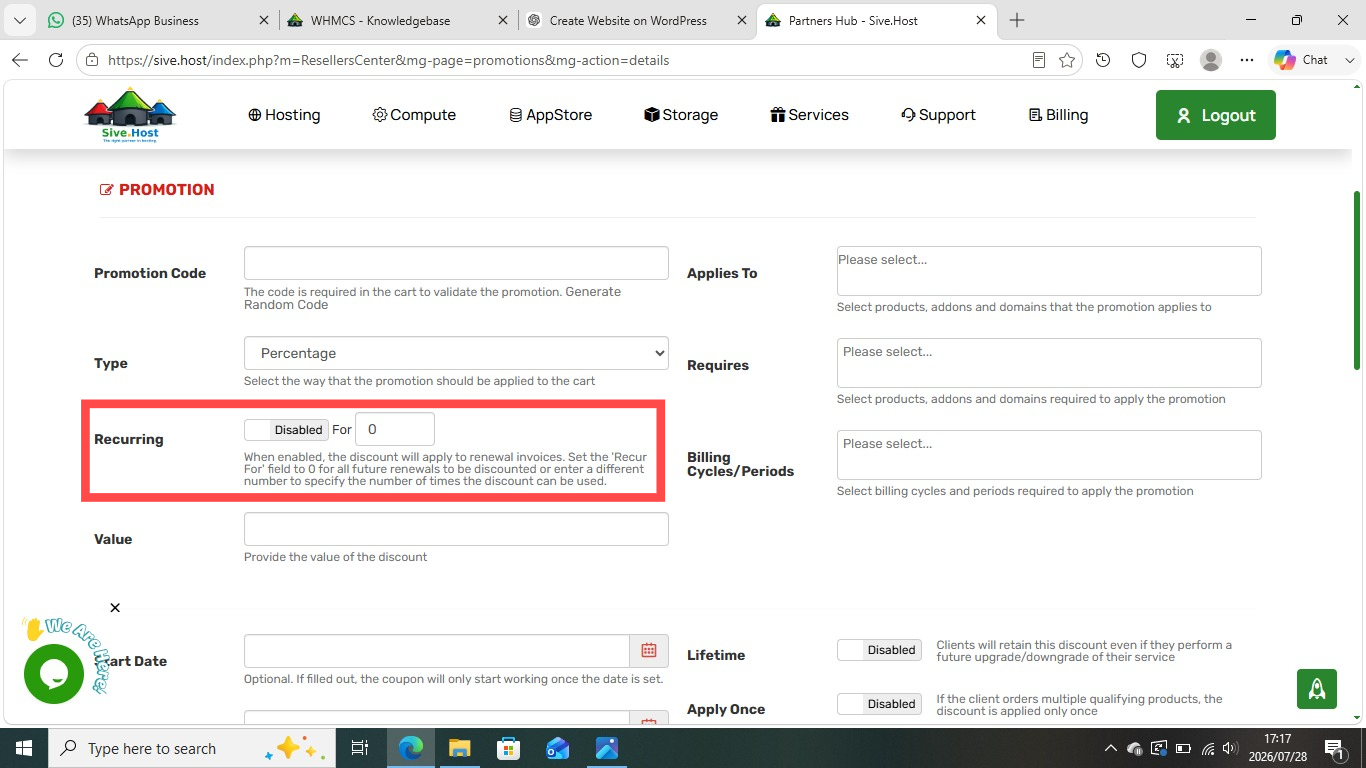
Recurring: Toggle to enable if you want the discount applied to future renewal invoices. Set the number of recurrences (or enter 0 for all future renewals).
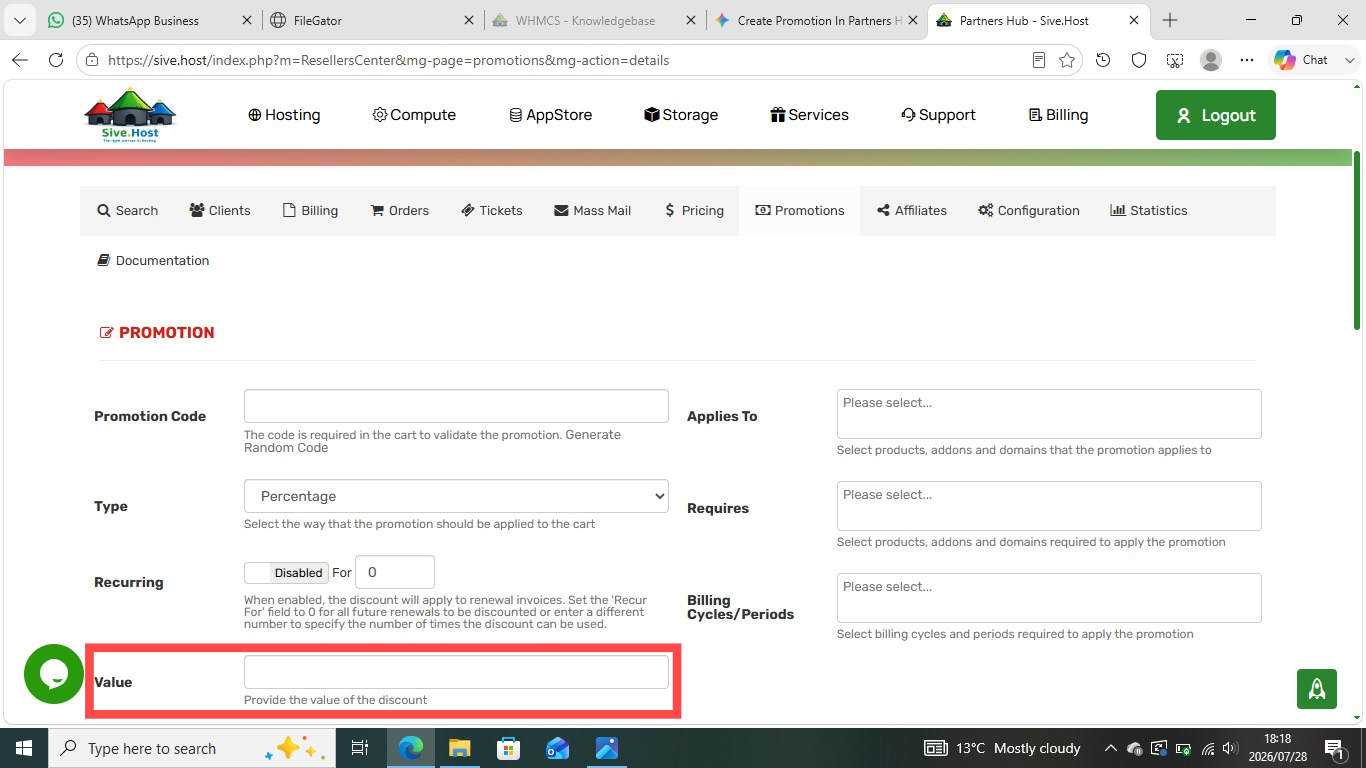
Value: Type in the value of the discount (e.g., 10 for 10% or 50 for R50)
Step 4: Set Product Restrictions & Billing Cycles (Right Column).
-
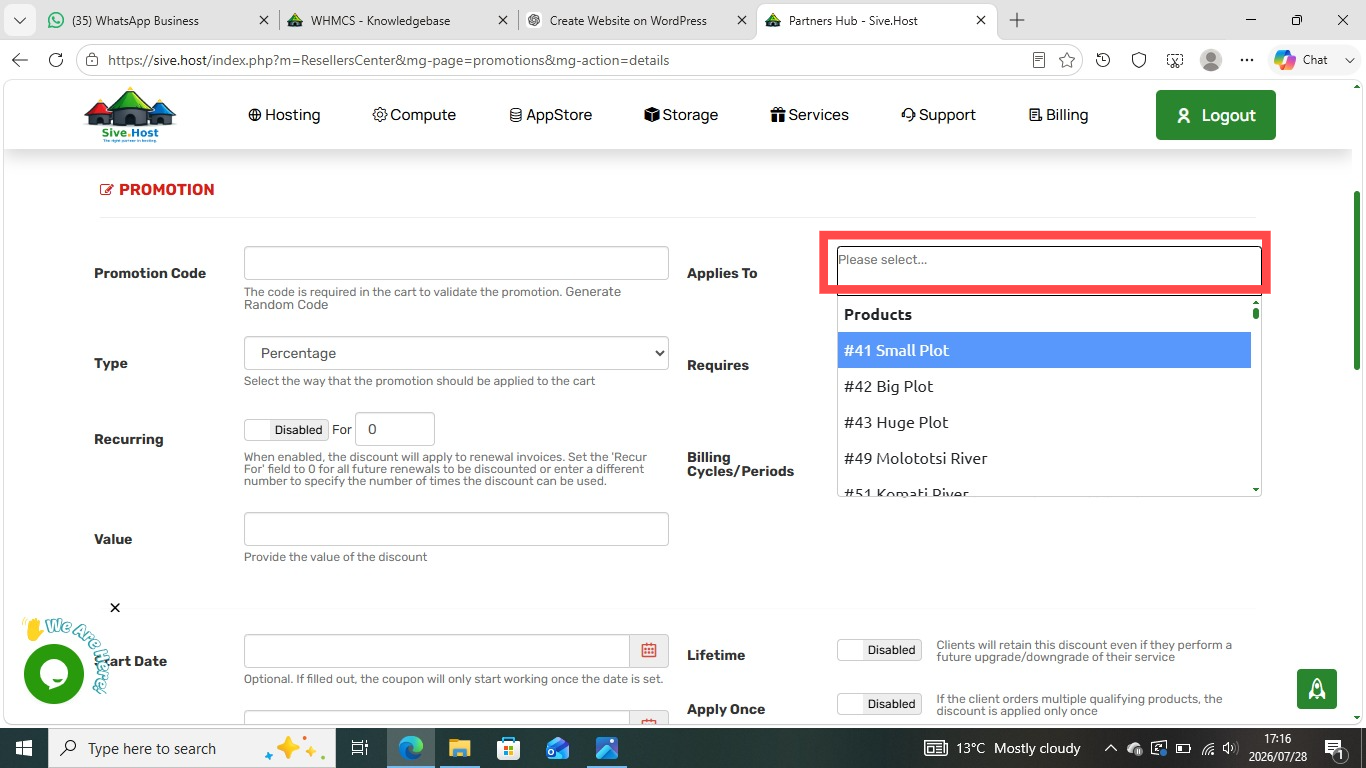
Applies To: Select the specific products, hosting packages, addons, or domain extensions the promo code should be valid for.
-
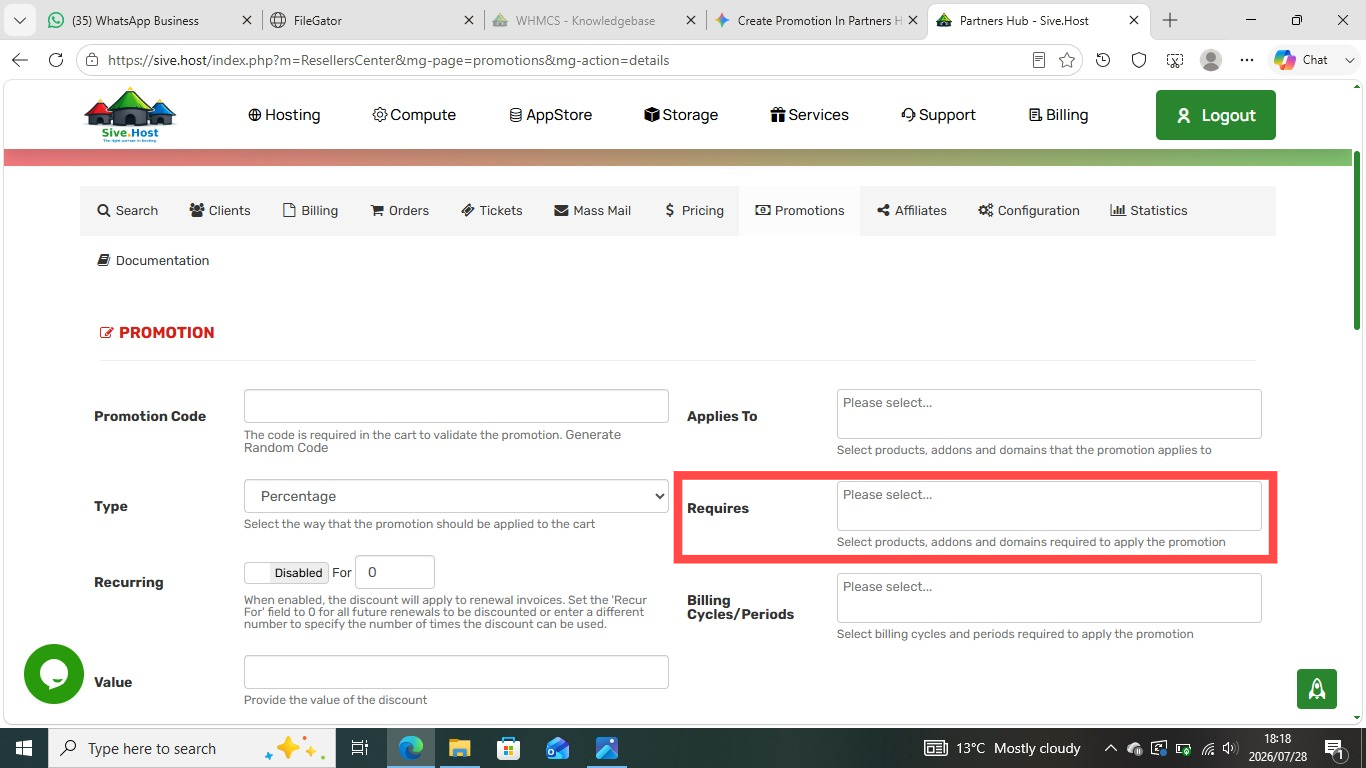
Requires: Choose any specific products/addons that must be present in the user's cart for the promo code to work (leave blank if no requirement).
-
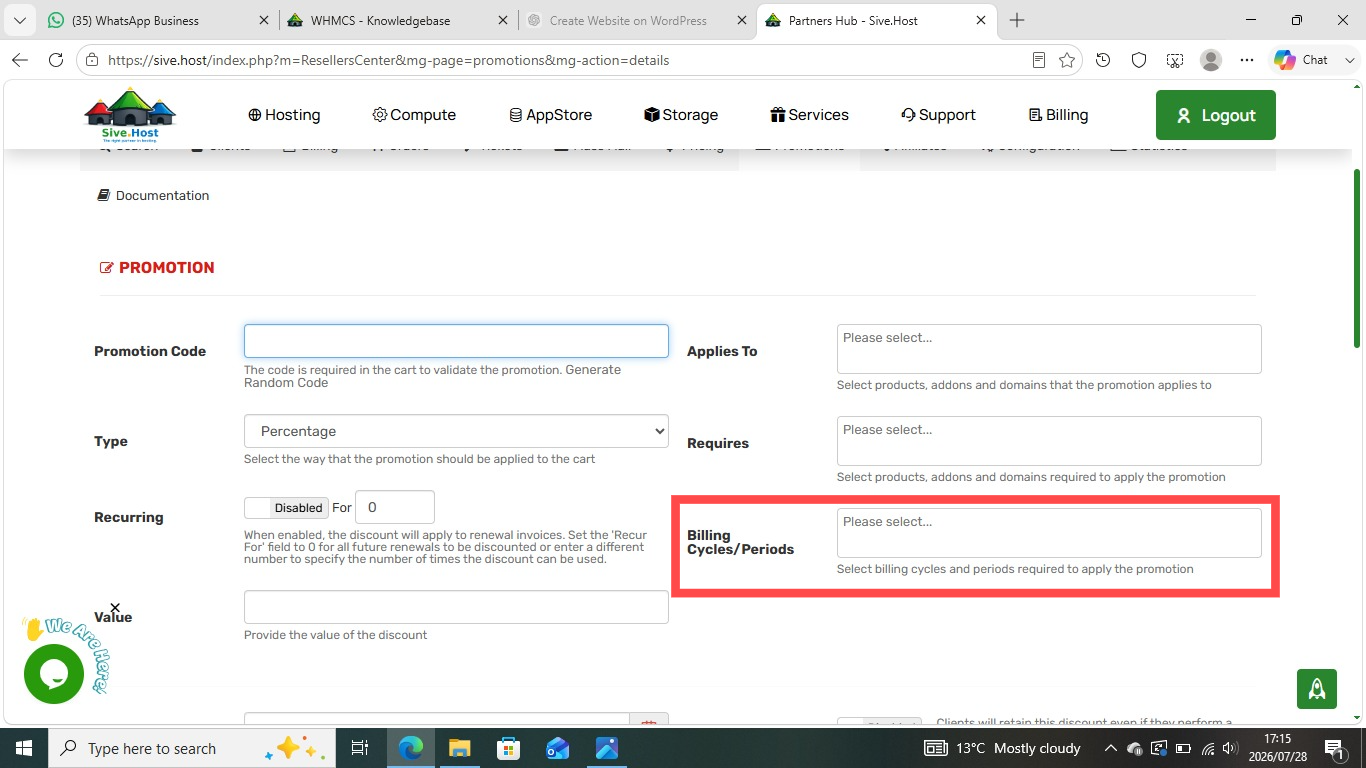
Billing Cycles/Periods: Choose which billing cycles (e.g., Monthly, Annually, ect) qualify for the promotion.
Step 5: Set Validity & Conditions.
-
Start Date: Click the calendar icon to pick the exact date the promo code goes live (e.g.,
2026-07-28).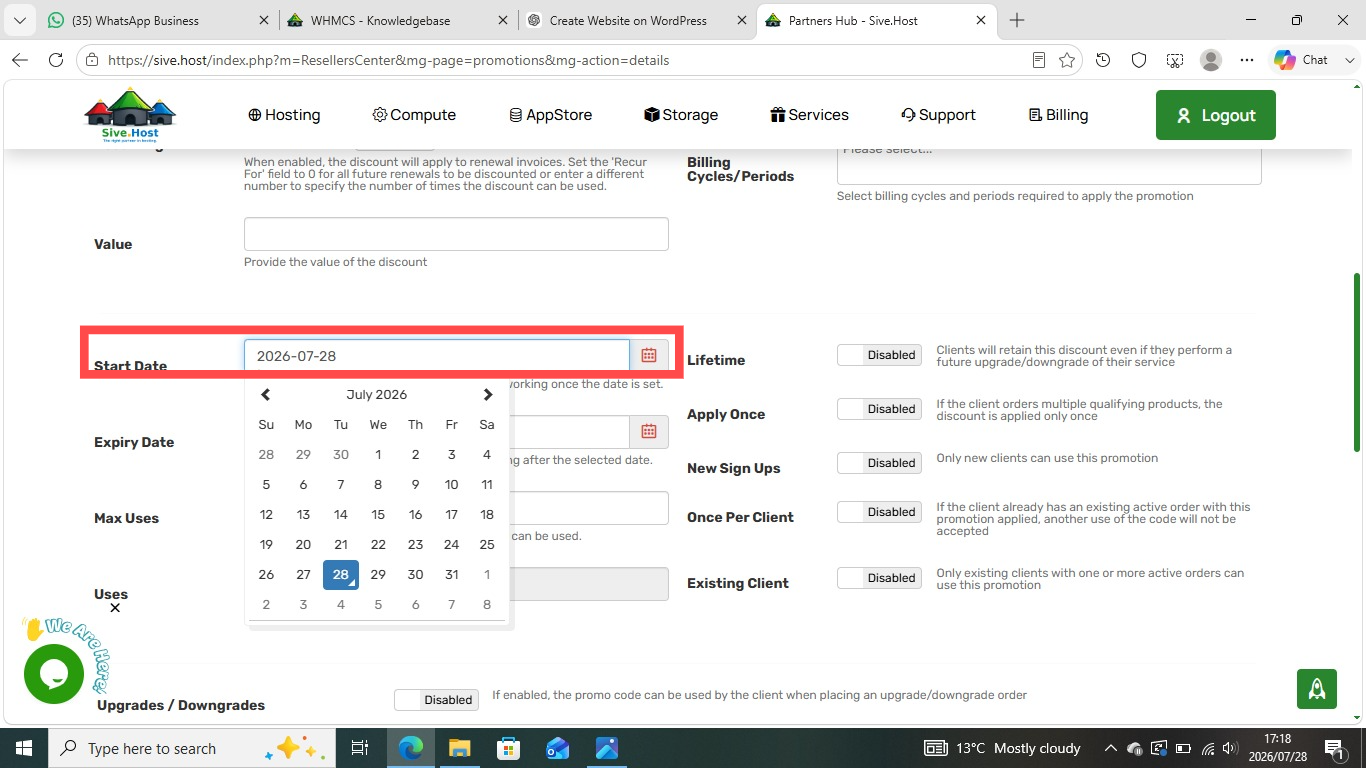
-
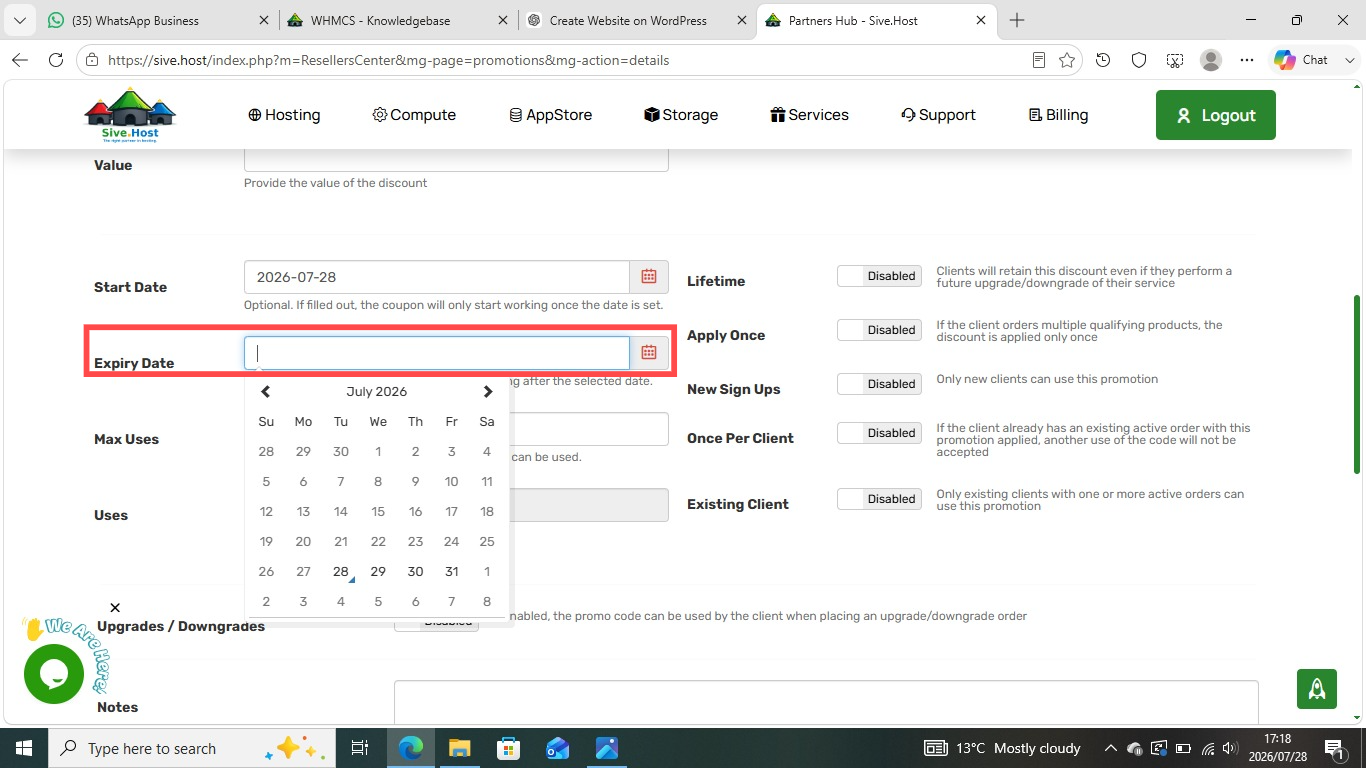
Expiry Date: Pick an end date for the promotion (leave blank if continuous).
-
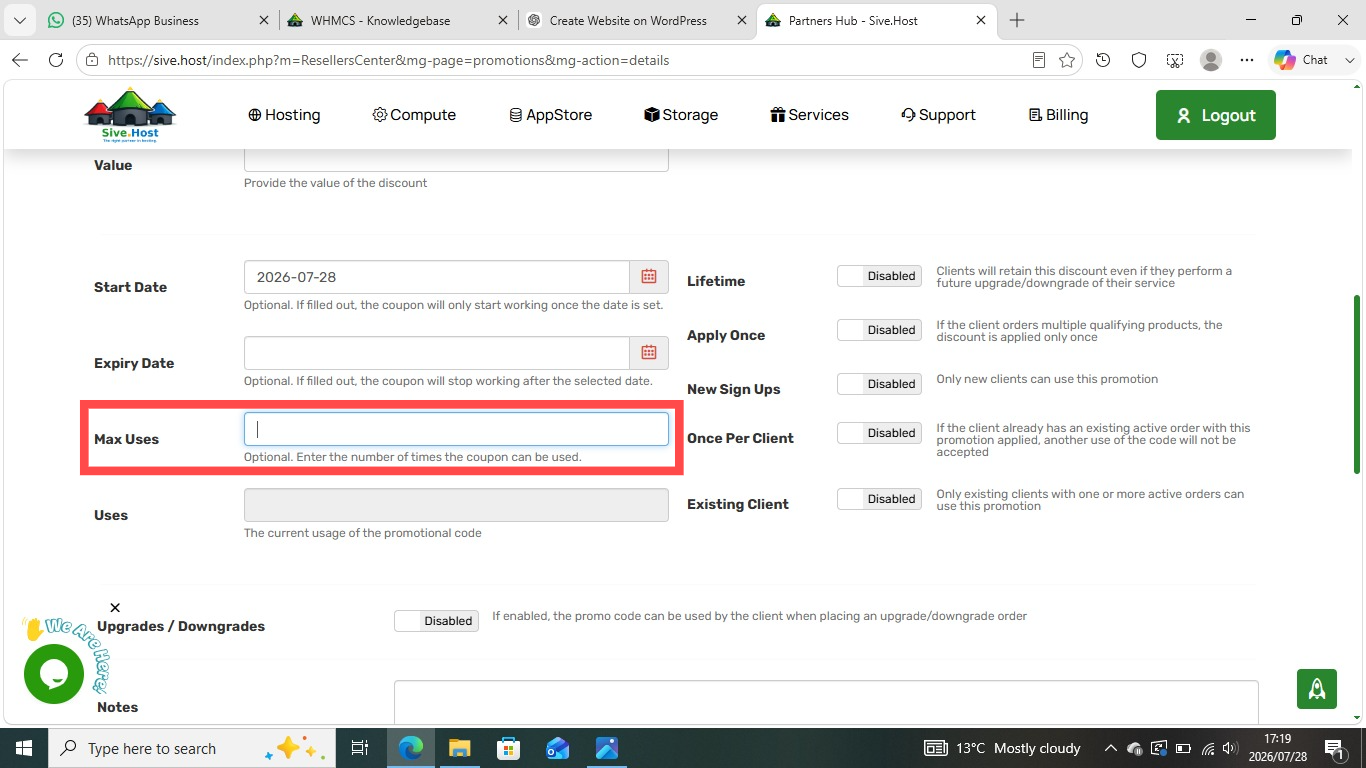
Max Uses: Enter the maximum total number of times this code can be redeemed across all customers (optional).
-
Toggle Options (Right Switches):
-
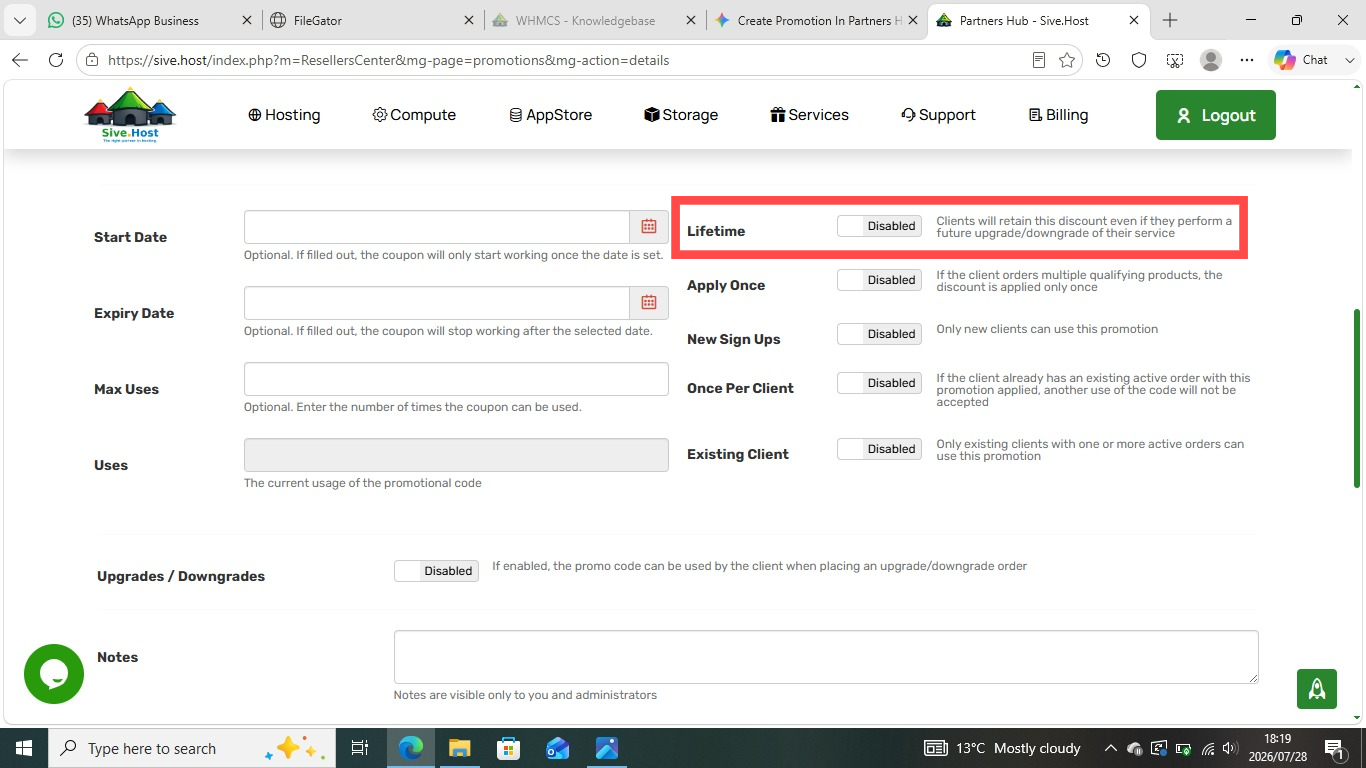
Lifetime: Allows clients to retain the discount even during future upgrades/downgrades.
-
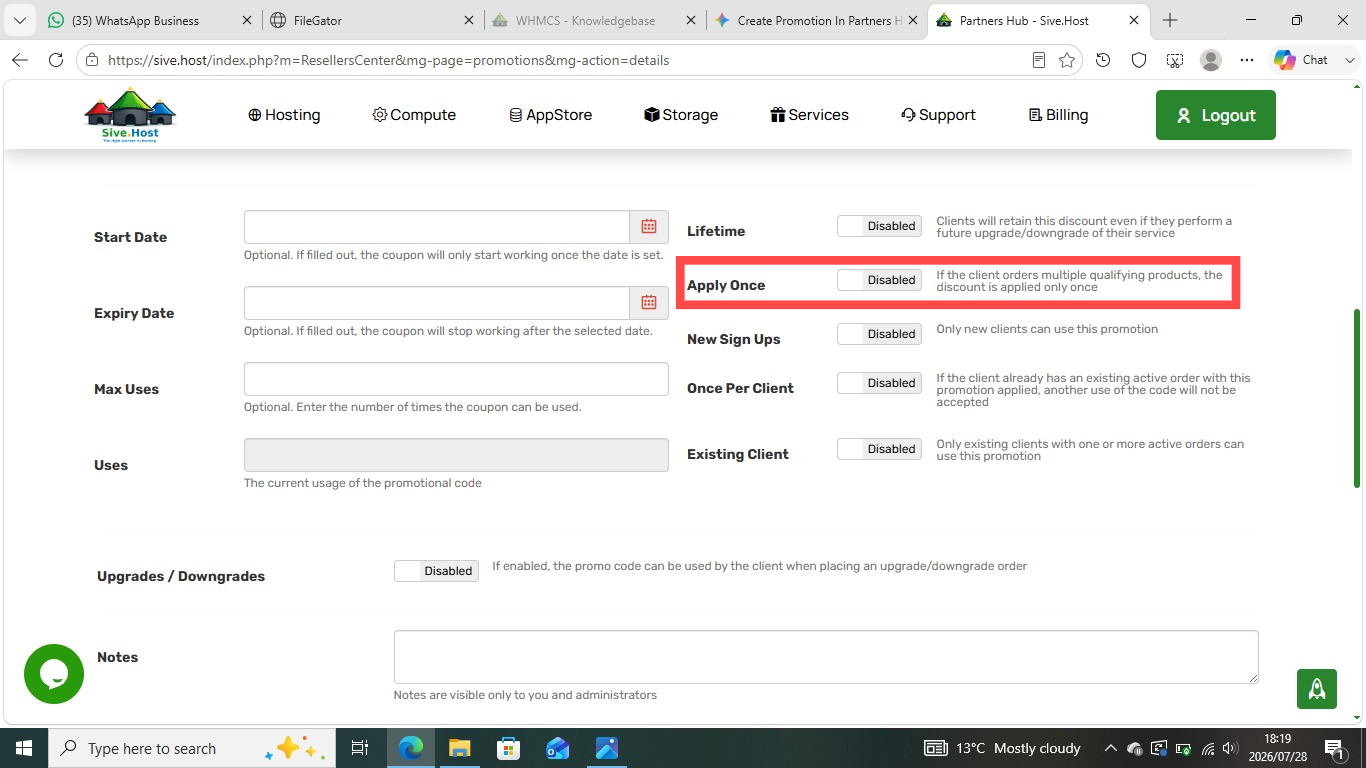
Apply Once: Applies the discount only once, even if the client orders multiple qualifying items in one transaction.
-
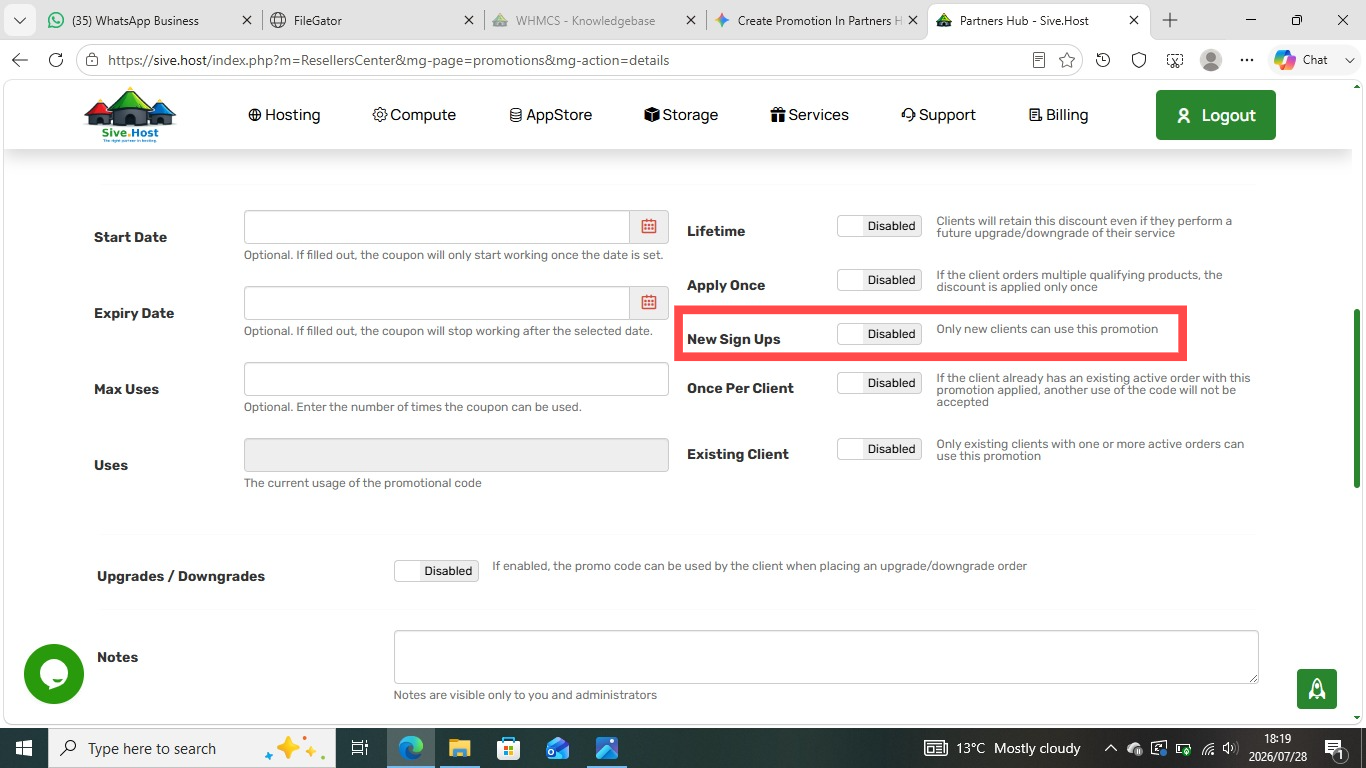
New Sign Ups: Restricts the promo code exclusively to new clients.
-
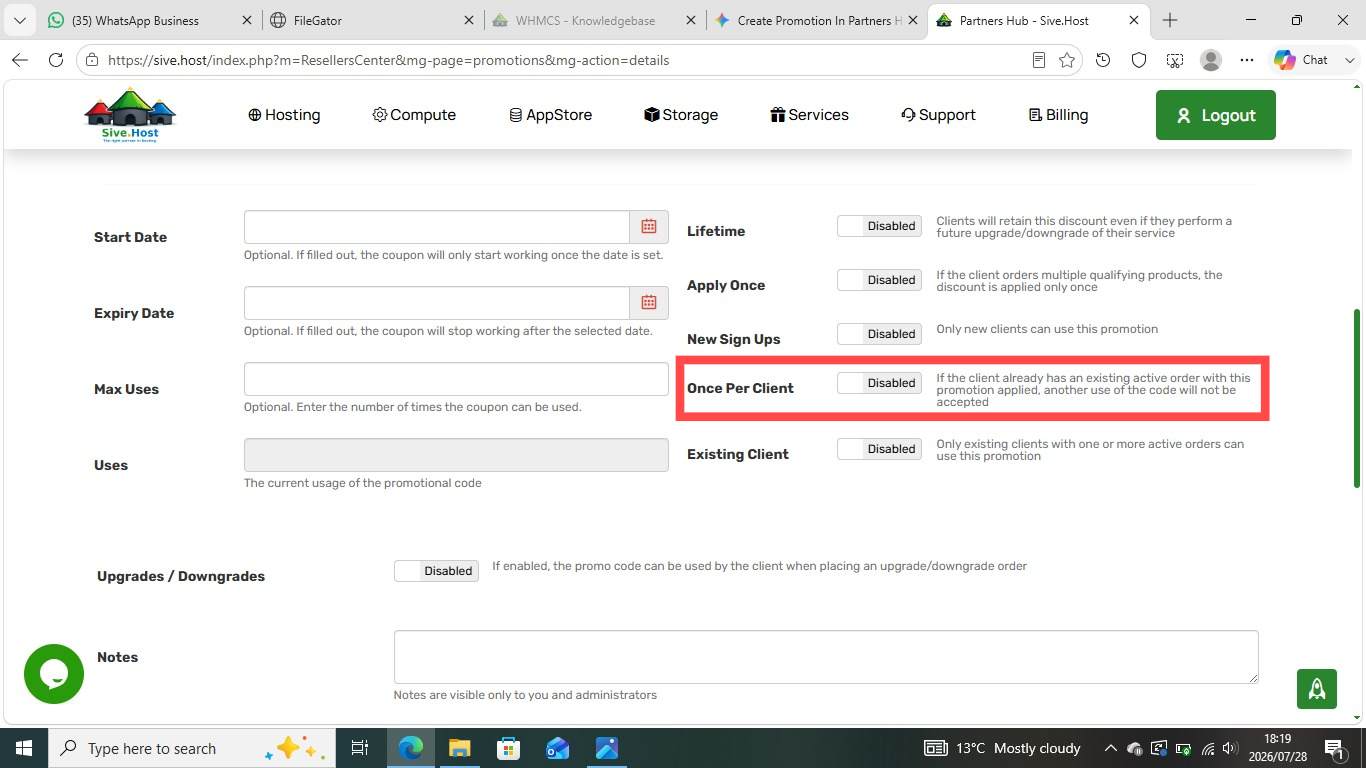
Once Per Client: Restricts each customer to using the code a single time.
-
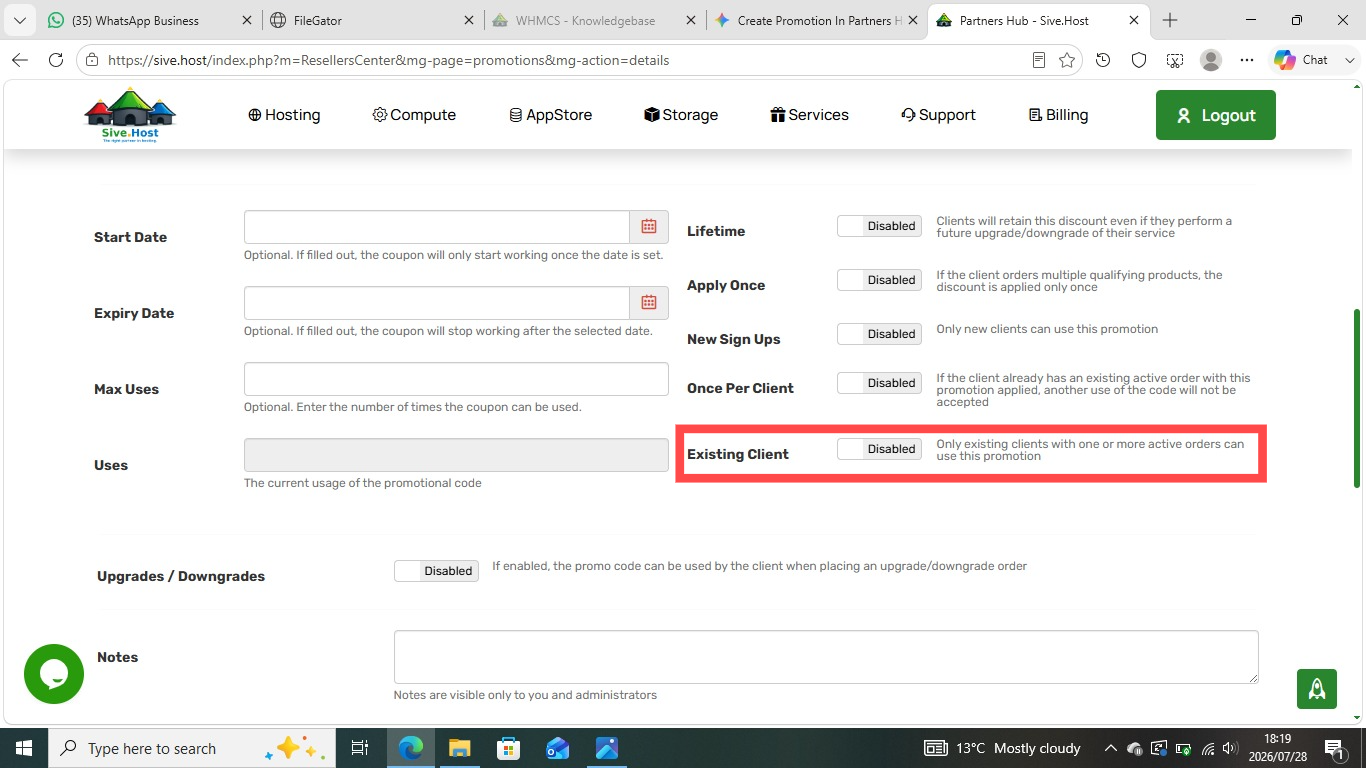
Existing Client: Restricts the promo code to existing clients with active orders.
-
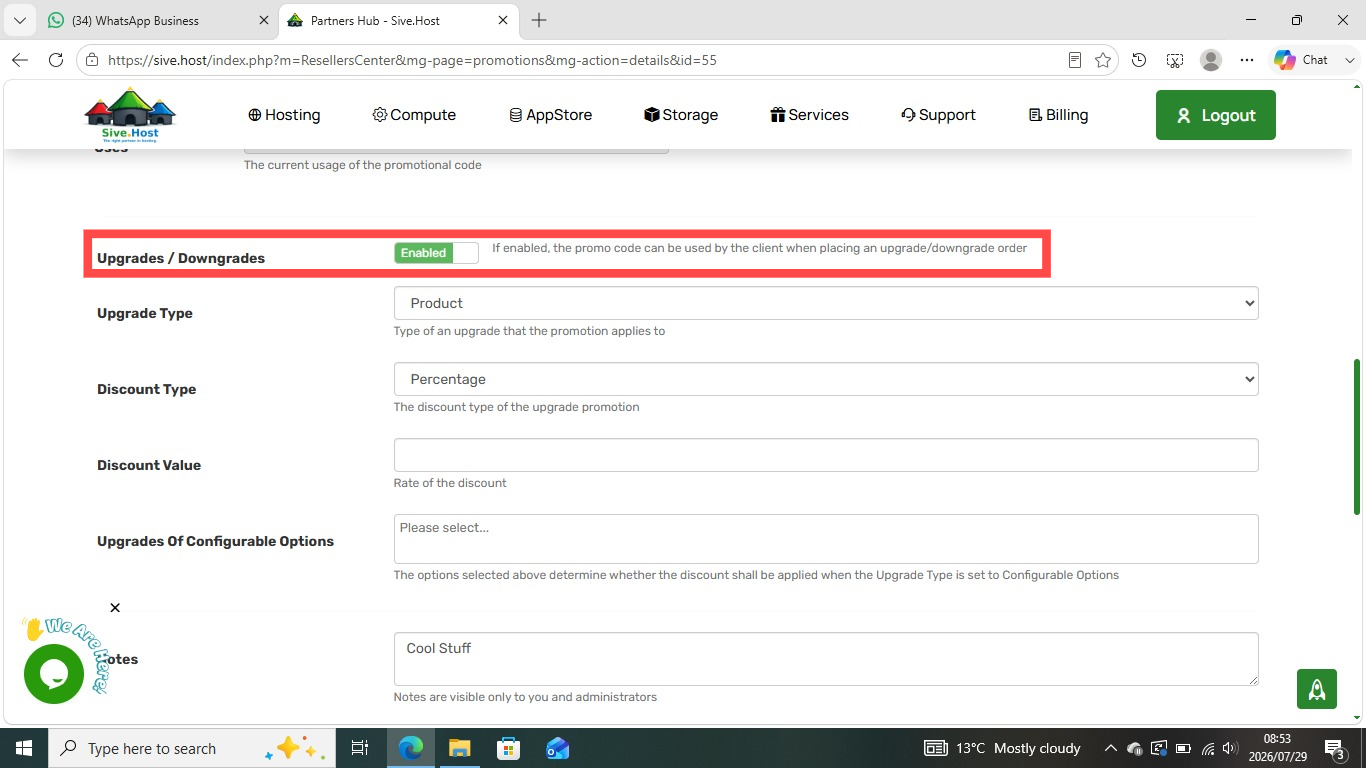
Upgrades / Downgrades: Enables the promo code for existing client package upgrades or downgrades.
-
Enable Upgrade Discounts
-
Toggle Upgrades / Downgrades to Enabled.
-
-
Select What Qualifies for the Upgrade
-
Click Upgrade Type and select:
-
Product (if upgrading/downgrading the main hosting plan tier).
-
Configurable Options (if upgrading specific package add-ons like extra RAM or disk space).
-
-
-
Set the Discount Format
-
Click Discount Type and choose how to deduct the cost (e.g., Percentage or Fixed Amount).
-
-
Enter the Discount Amount
-
Type the numerical discount into the Discount Value box (e.g., enter
20for a 20% discount).
-
-
Select Specific Options (If Applicable)
-
If you chose Configurable Options in Step 2, click Upgrades Of Configurable Options to select which specific resources qualify. Otherwise, leave it blank.
-
-
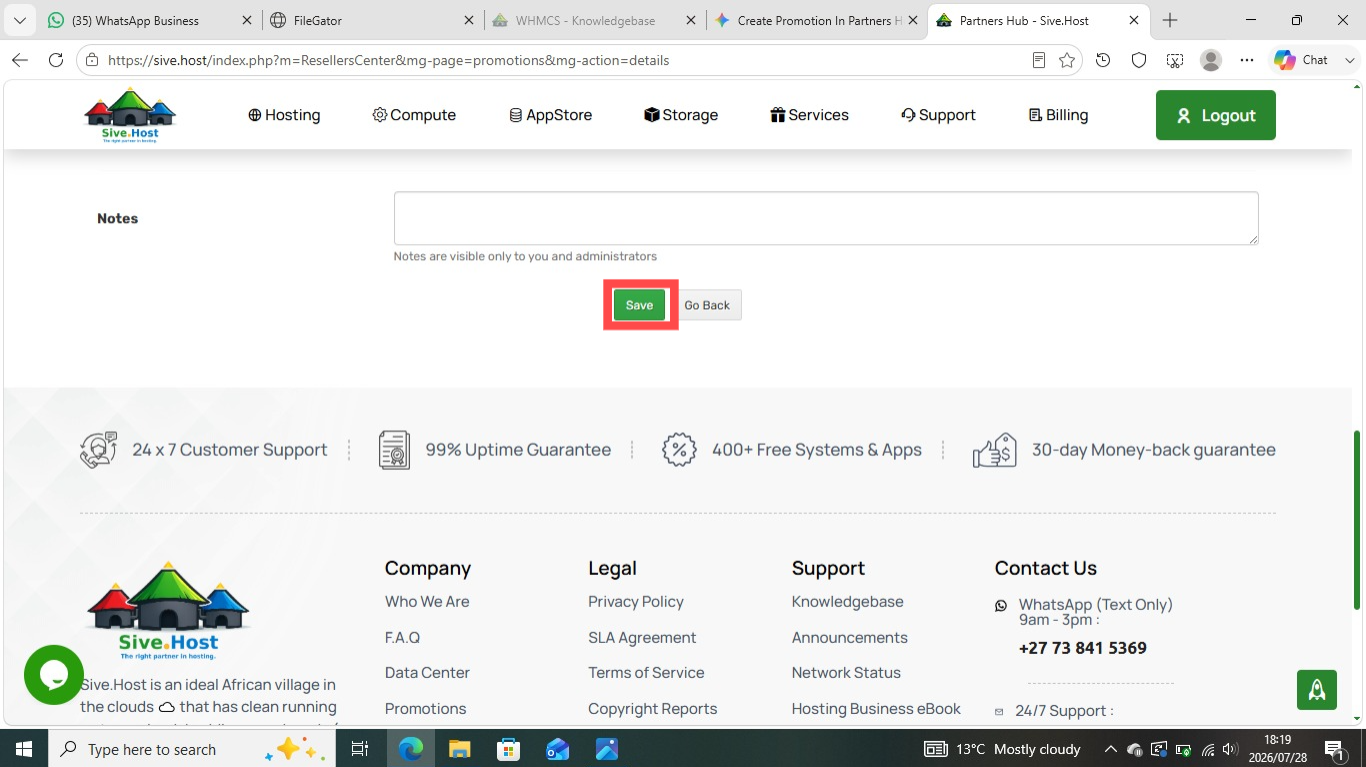
Step 6: Save the Promotion.
Click the green Save button at the bottom of the page to activate your new promotion.